Up until last week, I have never used stainless steel pans. While learning to cook for family as a child, I loved experimenting with food and flavors, but my experimentation with cookware was short-lived. I used what we had. Mom loved non-stick because 1) it was mostly fool-proof and 2) it was economical to replace when the teflon chips started flaking off. She used non-stick, so did I. When I registered for my wedding, I went with non-stick. When it was time to start replacing pieces 10 years later, I again went with non-stick. A few weeks ago, I saw the first tiny flecks of black in my cheese sauce. So this time, I wanted to experiment with the stuff that is supposed to last forever unless I ruin it. Stainless Steel.
All I knew about stainless steel pans were that they caused food to stick, they couldn’t be cleaned easily, food sticks, and more about food sticking. I began to wonder if maybe I had the wrong idea.
A couple of hours on Chowhound and some youtube videos later, I came home with an economical but very highly rated pan after a test kitchen compared it to the Taj-Mahal of Stainless steel-All Clad. I firmly believe in investing in good kitchen tools. But I also know me. If I can’t make it work for me, I won’t use it. I’ll pay more for good quality that will last years ONLY if I know how to use and will actually use it for years. The jury was still out on this whole stainless steel business so I bought one all purpose practice pan after a lot of research.
And since I’m also one multiple-choice question away from certifiably insane, I took my nifty new tool out for test drive with eggs. Why not go for the one dish that the majority of Chowhounders say they keep a cheapo nonstick for?
Because I found a youtube video that made it look easy.
After watching it, the key things I learned to prevent sticking:
1. Get pan HOT, but slowly. Don’t turn the heat to high. Keep it on medium-high or lower.
2. Add fat. Let it get HOT. Use a high smoke fat. Light olive oil is good. Bacon fat is not.
3. Add food and LEAVE IT ALONE. Turn pan to low-medium and let it hang.
4. Flip, turn, or move when the food has released on its own.
5. Cheap cookware will create hotspots from warping. Get the heavy bottomed stuff. Try-ply is great for even heat conduction.
6. To sum it all up: Patience is its own reward.
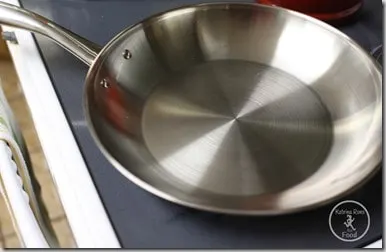
See how shiny? Now heat it up on medium heat (a 5-6 on my stove). It will take about 7-8 minutes to get good and warm.
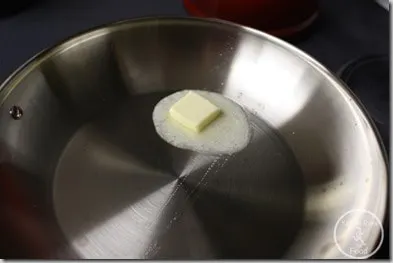
When you flick water on it, it should dance. Add butter. Let it melt until it just begins to brown. Have eggs ready.
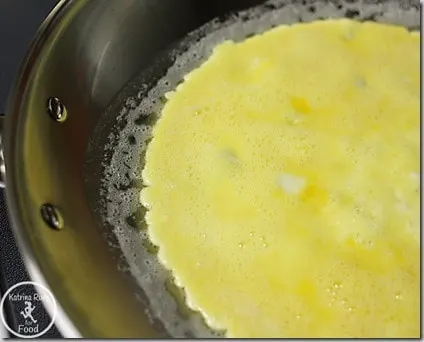
They should sizzle when you pour. Turn heat down a little more (a 4 on my stove). LEAVE IT ALONE. Watch the edges start to cook.
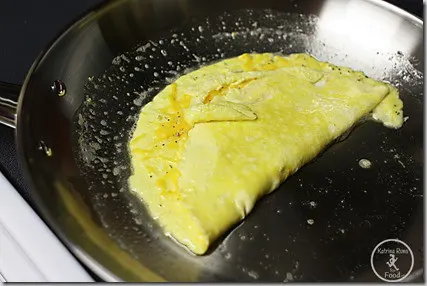
Do like the video shows. Use a spatula to lift edges and let eggs drain back to skillet. Lift another edge, let it drain. Wait a minute. Swish that pan. Watch the whole thing swirl. Cry with relief and joy.
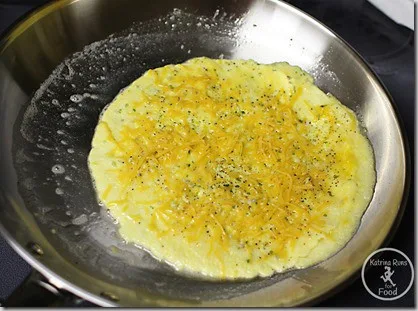
Flip it over. Notice NO BROWN spots on the bottom? This was my first time and that video was perfect. Of course, now is a good time to say that my next 2 omelettes had brown bottoms. I didn’t turn the heat down to a 4 and they started browning.
I do believe I’m going to like this transition to stainless steel. I think I will keep a small non-stick 7-8inch pan just for eggs. Often I’m in a hurry and Stephen loves to whip up scrambled eggs when he’s in charge of breakfast.
Happy cooking!


W30:D17 And the walls came tumbling down
Monday 31st of March 2014
[…] with veggies and bacon, no cheese. I had to finish this off in the oven. I’m still learning how to use my pan and I let it brown before the middle was […]